Setting Up Your Container Garden
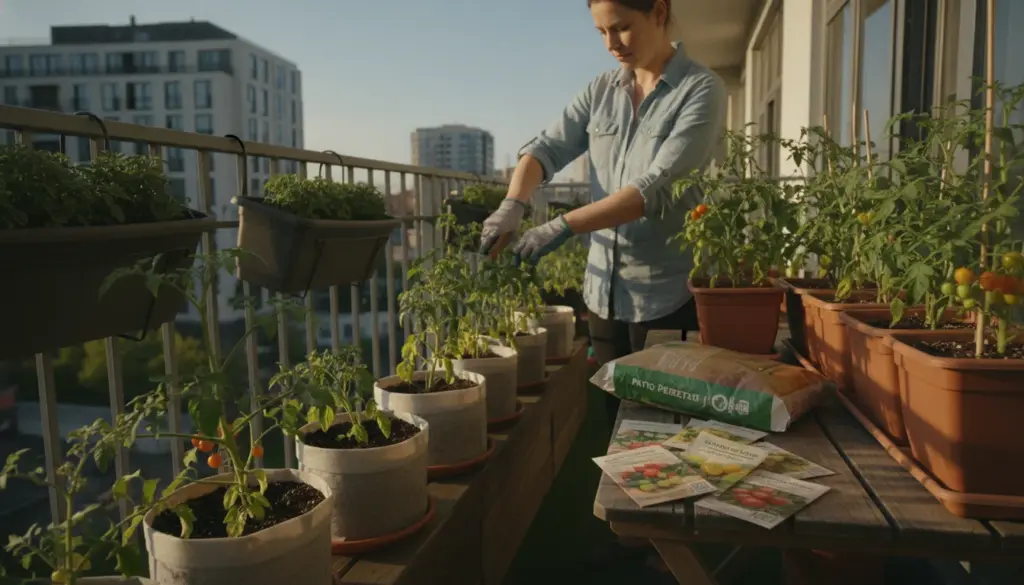
Let’s talk about building a thriving patio garden from scratch. Compact varieties like cherry, date, dwarf, or specific patio-type tomatoes thrive beautifully in medium-sized planters. They also handle the breezy conditions found on higher apartment floors much better than towering vines. Your outdoor space needs ample sunlight, ideally facing south or southeast, delivering a minimum of five to six hours of direct rays daily. A northern exposure limits your options to ultra-early varieties, and you’ll need to keep your harvest expectations in check.
When starting seeds this month, you have a few simple container choices:
- Rigid plastic or biodegradable cell trays
- Upcycled yogurt cups with holes poked in the bottom
- Shallow flats equipped with bottom drainage slits
Just remember that proper water flow matters far more than aesthetics. Standing water is guaranteed to ruin your early planting efforts in a matter of days.
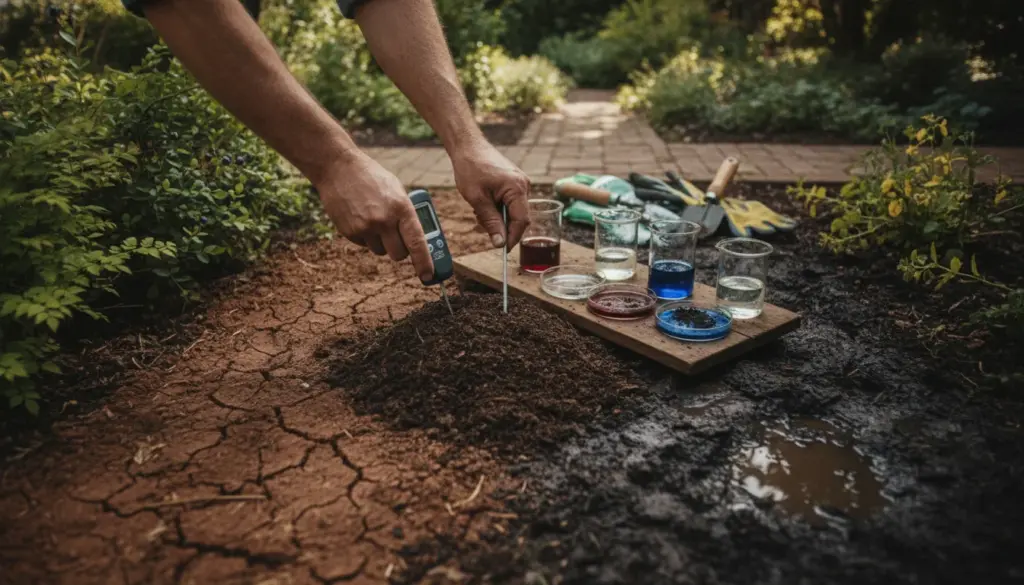
March 2026: Soil Selection and Sowing
Early spring nights carry quite a chill, especially depending on your local climate zone. Keep your newly planted flats indoors near a bright window or tucked safely inside a compact patio greenhouse. Always select a specialized, finely textured seed-starting mix. Standard garden dirt is far too dense for delicate roots and frequently harbors unwanted pests or fungal spores.
Fill your chosen cells with the mix, press it down gently, and pre-moisten everything so your tiny seeds don’t wash down too deeply. Drop one or two seeds into each compartment about half a centimeter to a full centimeter below the surface. Top them with a whisper-thin layer of soil and mist gently.
To trigger rapid germination, you should aim to maintain:
- Temperature: 18 to 22 degrees Celsius
- Moisture: Consistently damp, but absolutely never soggy
A clear dome or pierced plastic wrap traps humidity perfectly, though you must lift it daily to let fresh air cycle through and prevent mold growth.
The Secret to Sturdy Plants: Light and Heat Balance
Once those initial green shoots emerge, illumination becomes your top priority. If your young plants stretch out into long, pale, frail threads, they are essentially starving for light or roasting in too much heat. Position your trays right up against the glass, making sure the panes are wiped clean to maximize sunlight penetration.
On exceptionally bright days when outdoor temperatures climb above 12 to 14 degrees Celsius, you can move the trays outside for a midday sunbath, bringing them back indoors before dusk. As an experienced grower will tell you, a slightly cooler environment paired with abundant sunshine always beats a warm, shadowy room. This careful environmental balance creates short, heavily built plants boasting thick stems and deep green foliage.
Early Care: Watering Basics and Disease Prevention
For the first three to four weeks, these young sprouts are incredibly fragile. Bottom watering works beautifully here; just pour a couple of centimeters of water into a tray and let the pots absorb it upward. Alternatively, use a very fine spray bottle. Heavy streams of tap water will quickly uproot the shallow root systems.
To ward off damping-off disease and various fungal threats, you must:
- Never let water pool endlessly in the drip trays
- Regularly air out your mini-greenhouse covers
- Avoid crowding too many seeds into a single pot
If a fuzzy white mold layer appears on the soil surface, hold back on watering to let things dry out and instantly increase airflow. A light dusting of powdered cinnamon across the dirt serves as an excellent, naturally occurring fungicide.
The First Transplant
Once the little plants develop two true leaves—which appear right after the initial rounded cotyledons—it is time for their first move into individual 8 to 10-centimeter pots. This vital milestone generally happens three to four weeks post-germination, landing right around late March or early April 2026 for most growing zones.
When handling the transplant:
- Hold the leaves: Never pinch the fragile main stem
- Plant deeply: Sink them deeper than they were previously growing, as the buried stem section will sprout secondary roots
- Upgrade the soil: Use a richer, well-draining vegetable or tomato-specific potting mix
Give the newly repotted plants a couple of days in a bright but shaded spot to recover from root shock without added solar stress.
Hardening Off: Moving Outdoors
Moving your indoor-grown greens straight into the harsh elements is a recipe for disaster. They require a strict transition period, starting around mid-April 2026 in milder regions, or closer to late April and early May in cooler zones. Introduce them to direct sunlight, breezes, and temperature shifts very gradually.
Over the course of a week, start with just an hour or two outside in a sheltered morning spot. Slowly stretch this outdoor time to five or six hours, blending in more direct sunshine. Once overnight lows reliably stay above the 10-degree Celsius mark, your plants are finally ready to sleep outside permanently and transition into their final containers.
Final Planters, Soil Blends, and Supports
Maximizing your harvest comes down to providing the right housing. Dwarf and cherry varieties need containers roughly 20 to 25 centimeters wide. Indeterminate, tall-growing vines demand pots at least 30 centimeters across and equally deep.
Create a drainage buffer by lining the base with a few centimeters of expanded clay pebbles or broken terracotta shards. Next, mix up a high-quality growing medium. A highly reliable recipe uses two parts premium vegetable potting soil for structure and base nutrients, blended with one part aged compost or pelleted manure to aggressively boost fertility.
Install a bamboo stake or metal spiral right as you plant to avoid stabbing through the root mass later. Gently secure the main vine to your support using soft fabric ties, raffia, or specialized garden tape.
Feeding and Watering Your Growing Crops
Following the final transplant, keep the soil evenly moist for a few days as the roots settle into their new home. As seasonal temperatures rise, shift to less frequent but deeper watering sessions, taking care to keep the foliage completely dry. The ideal time to water is when the topsoil feels dry to the touch, yet a bit of moisture remains deeper down. Container soil dries out significantly faster than traditional garden beds, making the finger-test a smart daily habit.
Begin a light feeding schedule two to three weeks after repotting. You can utilize diluted stinging nettle tea or a commercial liquid tomato fertilizer. Frequent, diluted feeding yields much better results than overwhelming the plant with heavy doses, which typically forces massive leaf growth at the direct expense of blossoms.
Urban Balcony Pest Protection
Cultivating crops on a city terrace calls for preventative care rather than heavy chemical interventions. Ensure excellent air circulation by trimming away any lower leaves that brush against the dirt. Give your pots a quarter-turn every few days so the entire canopy gets equal sun exposure.
If aphids or tiny pests appear, a gentle spray of diluted potassium soap usually handles the issue swiftly. To build up resistance against fungal spots, especially on damp or partially shaded terraces, try misting the foliage with a natural horsetail extract. Promptly snip off any diseased, discolored, or crispy foliage and discard it away from the growing area to minimize pathogen spread in such a confined space.
Evaluating Your Growing Success
How do you know your early spring efforts are paying off? Properly nurtured starters boast thick, perfectly upright stems. Their leaves should showcase a rich, vibrant green hue without any yellowing, and the gaps between branches should remain tight and compact.
If your greenery looks washed out and overly tall, immediately seek out a brighter location and drop the ambient heat slightly. Conversely, leaves curling inward usually indicate a chronic overwatering issue. By dedicating attention to these crucial steps throughout March and April 2026, you’ll transition into May with vigorously healthy patio crops. When you are growing in containers where every handful of soil matters, starting with a robust foundation guarantees you’ll be plucking sweet, sun-warmed fruit right outside your door all summer long.