Give Your Empty Jars a Second Life
If you have empty glass coffee containers sitting around your kitchen, do not throw them away just yet. Instead, let’s transform those everyday items into stunning homemade lanterns. As an avid crafter, I know how incredibly satisfying it is to give leftover packaging a brilliant, decorative purpose.
This simple recycling project turns a standard coffee vessel into a cozy, glowing light source for your home. Crucial safety tip: Always ensure you are working with genuine glass rather than plastic. Because a real flame will be placed inside, the heat would easily melt any synthetic materials.
What You Need for Your DIY Luminary
Before diving into the creative process, you will need to gather a few basic crafting supplies. There are endless ways to upcycle glass, but this specific project requires the following items:
- An empty glass coffee jar or container
- Chalk paint (acrylic works well, too)
- Protective varnish
- Masking tape
- An old, thoroughly cleaned sponge
- Paintbrushes
- A small night candle or tealight
- Optional embellishments: decoupage napkins, fabric scraps, stickers, or decorative ribbons
Step-by-Step Crafting Instructions
Building your own decorative luminary is a surprisingly straightforward process. Follow this proven method to achieve flawless, beautiful results.
Step 1: Prep and Clean the Glass
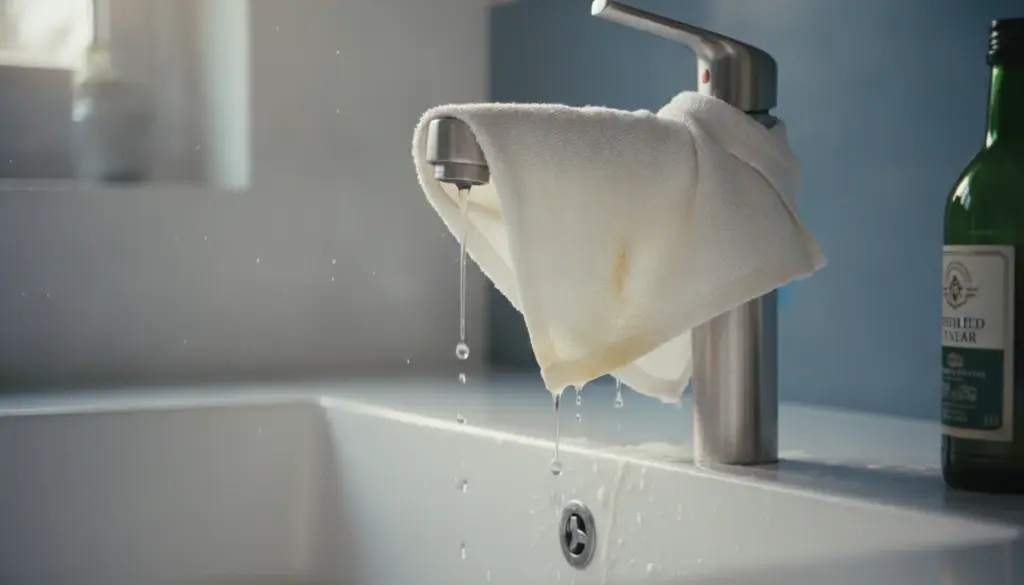
Begin by meticulously washing your glass container, making sure both the interior and exterior are spotless. Removing stubborn adhesive labels can be frustrating, but there is a simple trick. Simply submerge your jar in a deep pot filled with hot water and a splash of vinegar to easily dissolve the glue.
Step 2: Design a Glowing Window
Once the glass is completely dry, grab a piece of masking tape. Cut the tape into a fun design, such as a heart, and press it firmly onto the front of your vessel. This acts as a resist—when you peel the tape away later, it will leave a charming little transparent window for the candlelight to shine through.
Step 3: Apply Your Favorite Color
Now it is time to paint the exterior using your preferred shade. While you can certainly use a standard paintbrush, dabbing the color on with a sponge is highly recommended to avoid unsightly brush strokes. For a truly opaque and durable finish, always apply two even coats of paint.
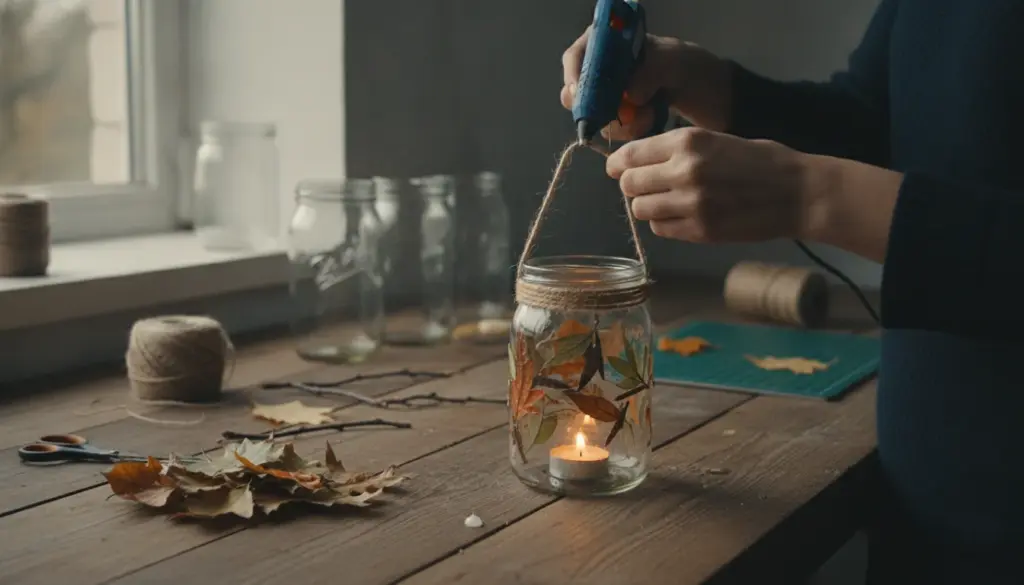
Step 4: Embellish and Illuminate
Wait patiently until the paint is entirely dry before adding your final personal touches. This is the perfect moment to tie some rustic sisal rope around the rim, attach fabric ribbons, or experiment with delicate decoupage techniques. Finally, place your candle inside the jar. You can safely use either a traditional wax candle or a convenient battery-operated alternative to enjoy your cozy new creation!