Transform Your Balcony Herb Garden
Have you ever watched your supposedly indestructible bay laurel slowly deteriorate? It can be incredibly frustrating to find crispy, brown tips instead of vibrant, aromatic greenery. However, implementing just a few straightforward horticultural practices can transform your struggling herb into a thriving, evergreen masterpiece.
By understanding its foundational needs, you will secure an endless supply of fresh seasoning right outside your window. Cultivating a spectacular specimen is entirely possible once you grasp how this resilient shrub functions in its native habitat.
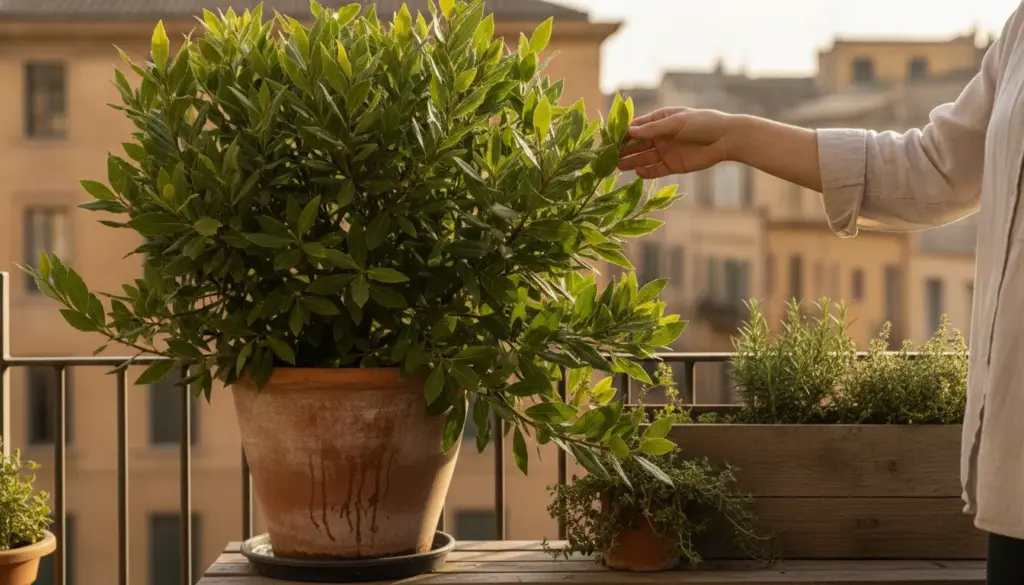
Understanding Mediterranean Plant Needs
True bay laurel (Laurus nobilis) hails from sunny coastal regions, where it naturally towers over five meters tall. Fortunately, containing it in a planter makes it highly manageable, provided you stay consistent with selective trimming. While it thrives in bright light and excellent air circulation, its ultimate nemesis is perpetually soggy dirt.
Though notoriously resilient, it remains vulnerable to waterlogged conditions, cramped containers, and icy drafts. Conversely, blistering summer balconies can essentially bake its root system. Cultivating a healthy shrub requires striking a careful environmental balance.
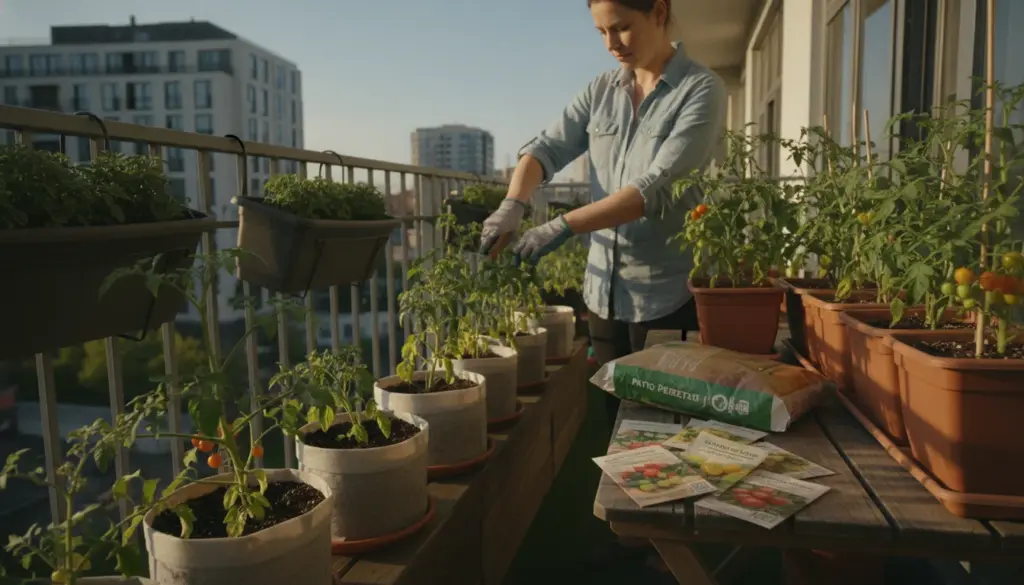
Choosing the Perfect Location
If you have garden space, planting directly in the earth where it receives a minimum of 4 to 5 hours of direct sunlight daily yields exceptional results. In notably hotter zones, offering a bit of midday shade during peak summer months prevents scorching.
For balcony container gardening, you must prioritize specific conditions:
- Position your planter facing south-east or south-west to catch the gentle morning or late afternoon rays.
- Ensure the area remains shielded from harsh, moisture-stripping winds.
- Elevate your container on pot feet to guarantee optimal drainage underneath.
While this herb will technically survive deep shade, lacking sunlight causes leggy growth and severely diminishes its coveted culinary fragrance.
Expert tip: Balconies prone to heavy gusts require sturdy, weighty ceramic cachepots. Because the foliage grows quite densely, the canopy essentially functions like a wind sail. A sudden gale can effortlessly topple a flimsy container, snapping tender, newly formed branches.
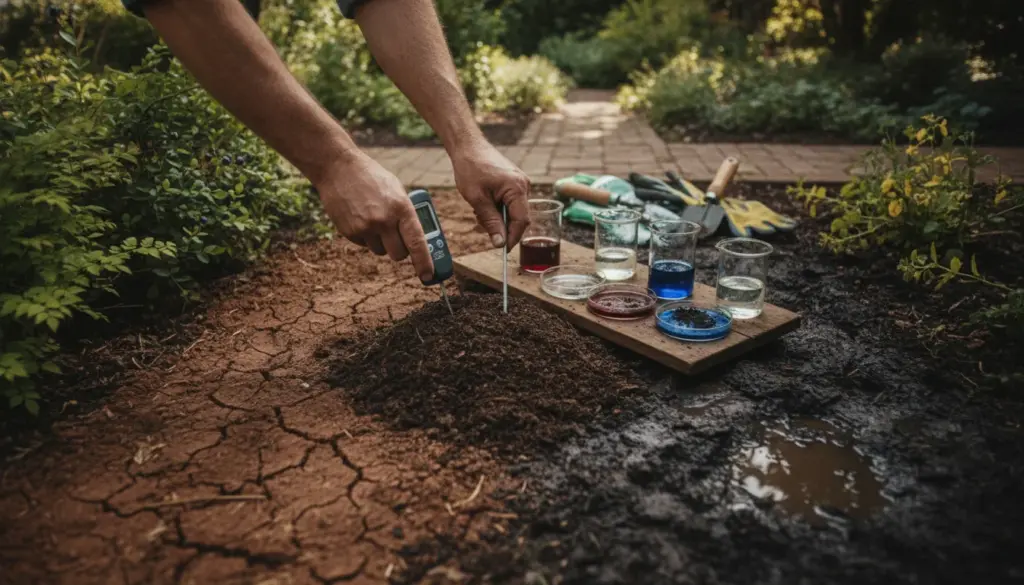
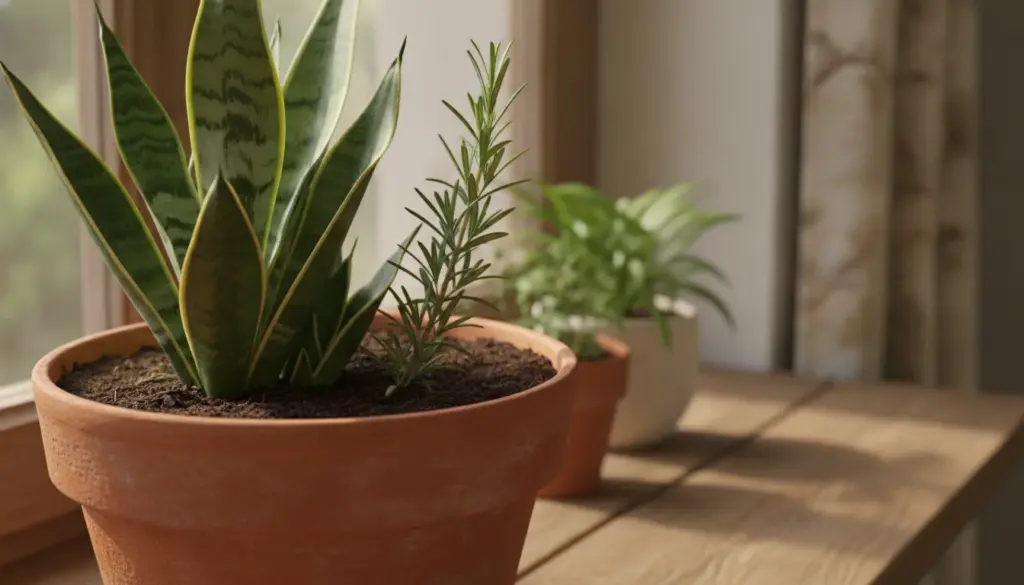
Avoiding Root-Destroying Soil Mistakes
Selecting the appropriate container dimensions is critical for long-term vitality. Start juvenile cuttings in a 25 to 30 cm diameter planter, planning to upsize gradually as the root ball expands. Porous terracotta pots are vastly superior here, as their breathable nature allows trapped condensation to evaporate naturally.
Your potting medium must prioritize aeration. The ideal substrate blend requires:
- High-grade, all-purpose potting soil as the base.
- An integration of 30 to 40% pumice or coarse sand to encourage rapid water movement.
- A bottom drainage layer of expanded clay pebbles measuring at least 3 to 4 cm thick.
Planting in dense, compacted mud inevitably triggers root rot and fungal infections. These issues usually present as sudden foliage yellowing and rapid leaf drop.
Mastering the Tactile Watering Technique
These Mediterranean natives handle brief dry spells significantly better than flooded environments. Rely on a straightforward tactile test: press your finger about 3 to 4 cm deep into the substrate. If the texture feels dusty and dry, provide hydration. If you detect lingering moisture, hold off.
Follow this general seasonal schedule:
- Spring and summer: Anticipate watering 2 to 3 times per week, increasing frequency slightly during severe heatwaves.
- Autumn and winter: Reduce moisture to roughly once every 10 to 15 days, provided rainfall isn’t hitting the planter directly.
Crucially, always empty the drainage saucer roughly 20 to 30 minutes after watering. Prolonged exposure to standing water will suffocate the root system.
Strategic Feeding for Optimal Flavor
Because potted environments restrict nutrient access, consistent supplementation is necessary. Between March and September, you should actively nourish your herb to promote robust growth.
You can apply granulated manure every 6 to 8 weeks, or utilize a reduced concentration of liquid houseplant fertilizer every 20 to 25 days. Steer clear of formulas heavily loaded with nitrogen. Excessive nitrogen forces rapid, weak foliage development, leaving the plant highly susceptible to freezing temperatures and insect infestations.
Pruning and Culinary Harvesting
Bay laurels respond magnificently to selective clipping. A gentle, routine shaping session keeps the foliage dense and structurally sound. Perform primary maintenance cuts during late winter or early spring, just before the vigorous growing season kicks off.
When gathering ingredients for your kitchen, keep these harvesting rules in mind:
- Target the mature, deep green leaves for the most intense aromatic profile.
- Always snip stems using freshly cleaned tools.
- Dry your harvest in a well-ventilated, shaded spot rather than under harsh, direct sunlight.
Wiping your cutting tools with rubbing alcohol prior to trimming effectively prevents the transmission of harmful plant pathogens.
Troubleshooting Pests and Blemishes
Routine weekly inspections allow you to spot developing horticultural issues before they devastate the entire shrub. Crispy brown leaf edges typically indicate excessively dry air or accumulated soil salts.
Keep a close eye out for scale insects, which present as tiny, raised brown shields along the main stems. If you notice these sap-sucking invaders, eliminate them promptly using organic horticultural oil sprays or a simple gray soap solution.
Protecting Potted Laurels from Winter Frost
While ground-planted laurels easily endure mild winters, elevated planters leave root systems dangerously exposed to ambient freezing. If forecasts predict temperatures plunging below -5°C, you must take immediate protective action.
Wrap the exterior of the container in thick jute or agricultural fleece, and shift the pot directly against a warm, south-facing building wall. Drastically cut back on watering, as the combination of freezing temperatures and soggy dirt guarantees root death. In exceptionally frigid climates, migrating the pot into a bright, unheated enclosed porch or stairwell provides the safest overwintering environment.
Unexpected Household Uses
Beyond flavoring rich soups, dehydrated bay leaves function as excellent natural fresheners. Tucking a few into a breathable cotton pouch creates a highly effective moth deterrent for your wardrobe. Interestingly, simmering legumes alongside a single leaf not only deepens the savory broth but actually improves food digestibility.
Struggling with clumpy coffee grounds? Slipping a thoroughly dried leaf inside your coffee canister miraculously absorbs ambient humidity while protecting the roast’s delicate aroma. Cultivating your own supply guarantees pesticide-free, intensely flavorful herbs whenever a recipe calls for them.