The Missing Step for Flawless Roasted Potatoes
The contrast between amateur and professional cooking is often most obvious in side dishes. In high-end kitchens, culinary experts rely on a surprisingly straightforward technique to achieve perfectly roasted potatoes. There is a single, crucial step before the oven that guarantees a shattered, crunchy exterior and a velvety interior—a balance home cooks frequently miss.
Why Home-Cooked Spuds Usually Fall Flat
Making roasted potatoes seems effortless: chop them up, toss with oil and seasonings, and throw them in the oven. Yet, they routinely emerge from the kitchen limp, unappetizingly pale, or completely dried out.
This disappointment happens because baking and browning are occurring simultaneously. The outside simply does not have enough time to crisp up before the inside turns to mush. Restaurant professionals solve this dilemma by starting the cooking process on the stovetop long before the baking sheet gets involved.
Step 1: The Essential Parboil
For chefs, the journey always begins in a pot of water. This isn’t just tradition; it fundamentally transforms the vegetable’s cellular texture.
Simmering Before Roasting
The methodology is incredibly simple. Grab some small potatoes, or cut medium ones into uniform wedges or chunks. Always opt for varieties that handle the oven well, such as Charlotte, Amandine, Bintje, Manon, or Ratte.
- Slice your potatoes evenly to ensure they all finish cooking at the exact same time.
- Bring a large pot of generously salted water to a rolling boil.
- Simmer the pieces until a fork barely pierces them, making sure they hold their shape perfectly.
- Instantly transfer the pieces into an ice bath to completely halt the cooking process.
- Dry the potatoes meticulously using paper towels or a clean kitchen cloth.
This gentle pre-cooking softens the core, giving you that dreamy, mashed-potato-like center. Plunging them into cold water ensures they won’t disintegrate into mush once they hit the roasting pan.
The Baking Soda Trick for Maximum Crunch
Many culinary veterans add a single teaspoon of baking soda (bicarbonate) to the boiling water. This highly alkaline addition slightly breaks down the exterior structure of the potato.
The edges and skins become fuzzy and slightly mushy on the surface. While it might look counterintuitive, that starchy slurry is exactly what you want. This broken-down exterior acts like a natural batter, creating countless jagged edges that fry up beautifully in the hot oil.
The Smash Method: Creating More Surface Area
Another brilliant move straight from the restaurant line is gently flattening the boiled pieces. You aren’t making puree; you just want to distort their shape slightly.
Place your dried, parboiled pieces on a tray and press down lightly with a spatula or the bottom of a drinking glass. This creates “smashed potatoes” full of crags, cracks, and uneven borders. When exposed to intense oven heat, those little fissures transform into violently crunchy bites.
Oven Dynamics: High Heat and Plenty of Space
Once your potatoes are perfectly tender and completely dry, the oven does the heavy lifting. Success here depends entirely on temperature control, fat distribution, and pan spacing.
Finding the Right Temperature
Professional kitchens typically blast their spuds somewhere between 180 and 230 degrees Celsius. For standard home cooking, keep these guidelines in mind:
- Aim for around 200 degrees Celsius on a convection setting for most standard ovens.
- Bake for 30 to 45 minutes, monitoring based on the size of your cuts.
- Flip the pieces halfway through the cooking time to guarantee an even, golden-brown finish.
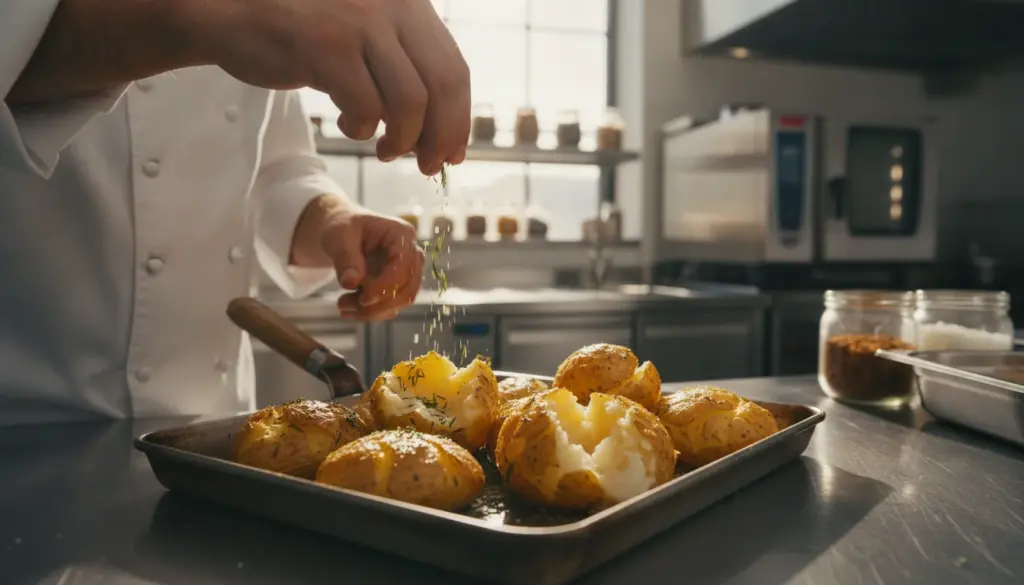
Before roasting, gently coat the thoroughly dried potatoes in neutral oil or olive oil, along with salt and pepper. Your goal is a perfectly thin, even sheen of fat wrapping around every single piece.
Never Overcrowd the Pan
The most common home-cooking error is cramming too many pieces onto a single baking sheet until the metal is invisible. When you do this, you trap moisture and create a miniature steam bath.
Overcrowded spuds will steam in their own juices instead of roasting. Genuine crispiness demands dry, intensely hot circulating air. Leave plenty of breathing room between each piece.
If you want to pull out all the stops, pour a shallow, half-centimeter pool of fat directly onto the roasting pan. The potatoes will sit right in the oil without drowning, yielding a deep golden underside that feels incredibly decadent rather than greasy.
Secret Upgrades from Professional Kitchens
Once you master the foundation, you can start incorporating high-end details. Chefs love manipulating fats, salts, and cheeses to push the textural contrast even further.
The Quick Brine Technique
A momentary dip in aggressively salted water can supercharge your crust. After the initial drying phase, submerge the potatoes in a heavily salted liquid for roughly 10 seconds, then drain and dry them completely once more before oiling.
This microscopic layer of salt accelerates surface dehydration in the oven, leading to an intensely savory, glass-like crunch.
Building a Caramelized Cheese Base
For a visually stunning side dish, try spreading a fragrant cheese mixture directly on the baking sheet before placing your potatoes down. Consider blending:
- Freshly grated Parmesan or a similar hard cheese
- Finely minced garlic cloves
- Finely chopped fresh oregano, thyme, or rosemary
Scatter a thin, even layer of this mixture across your greased pan and arrange the potatoes on top. As it bakes, the cheese melts, bubbling into a deeply caramelized, savory frico crust attached directly to the potato base.
Cooking with Animal Fats
Countless top-tier cooks whisk a spoonful of goose or duck fat into their olive oil. This infuses the dish with a rich, savory depth that pairs flawlessly with holiday roasts or heavy meat dishes. When applied to smashed potatoes, these animal fats deliver an almost snack-like, irresistible crunch.
Selecting the Ideal Potato Variety
Keep in mind that potato varieties behave very differently under intense heat. In regions like Belgium and the Netherlands, culinary experts often gravitate toward slightly floury types.
A semi-floury potato offers the ultimate contrast between a shattered crust and a pillowy interior. However, if your priority is maintaining perfectly sharp, intact cubes that won’t crumble, a waxy variety like Charlotte is your best bet.
Adapting Your Roast for Any Menu
Oven-roasted spuds are incredibly versatile, matching flawlessly with a casual weeknight chicken breast or an elaborate Christmas feast. Here are a few ways to customize the baseline method:
- Casual Weeknights: Toss the potatoes with chunky bell peppers, carrots, and onions, roasting everything on one tray.
- Seafood Pairings: Skip the heavy cheese and finish your crispy spuds with olive oil, fresh dill, parsley, and bright lemon zest.
- Party Appetizers: Prepare bite-sized smashed versions and serve them alongside truffle mayonnaise, garlic aioli, or chive-infused sour cream.
- Vegetarian Centerpieces: Plate the golden potatoes alongside charred vegetables, topped with a generous swoop of hummus or crumbled feta.
Always adjust your fat levels based on the specific meal. You need enough oil to develop a crust, but swimming in grease will make a light dinner feel overwhelmingly heavy.
Final Details for Absolute Perfection
If you bake frequently, you quickly learn that minor tweaks yield massive improvements. Keep these final adjustments in your repertoire:
- Preheat your empty baking tray. Dropping room-temperature potatoes onto sizzling metal jumpstarts the crust formation instantly.
- Swap out table salt for coarse sea salt to add an extra dimension of tactile crunch.
- Hold off on adding fresh herbs until the tray leaves the oven; intense heat will scorch delicate leaves and turn them bitter.
- Let the finished dish rest on the hot pan for a minute or two before serving. This resting period allows the crust to properly “set” and firm up.
Once you completely internalize the rhythm of parboiling, drying thoroughly, spacing out the pan, and cranking the heat, you will effortlessly produce side dishes that rival elite restaurants. From that point on, it is simply a matter of playing with different fats, aromatics, and cuts to discover your ultimate signature recipe.