Do you have desk drawers overflowing with snapped, stubby colored pencils just gathering dust? Rather than tossing them in the bin, you can effortlessly transform these forgotten supplies into stunning home decor. Taking this creative route is highly eco-conscious, while also serving as a fantastic strategy to save cash on customized room accessories.
Almost every household harbors a stash of neglected drawing tools left over from school days or abandoned art phases. Truthfully, these tiny timber scraps are ideal candidates for creative recycling. View them as complimentary building materials! With just a dab of adhesive, those discarded pieces can completely revamp your workspace or lounge area.
How to Craft a Colorful Pencil Photo Frame
One of the most visually striking, yet beginner-friendly projects involves upgrading a standard picture frame. The finished piece looks incredibly charming perched on a home office desk, adding flair to a nursery, or serving as a heartfelt handmade gift.
What You Will Need
- Used colored pencils.
- A basic picture frame (crafted from cardboard or plain wood).
- A reliable hot glue gun or heavy-duty craft adhesive.
- A tiny hand saw or sturdy scissors (for adjusting lengths).
Step-by-Step Instructions
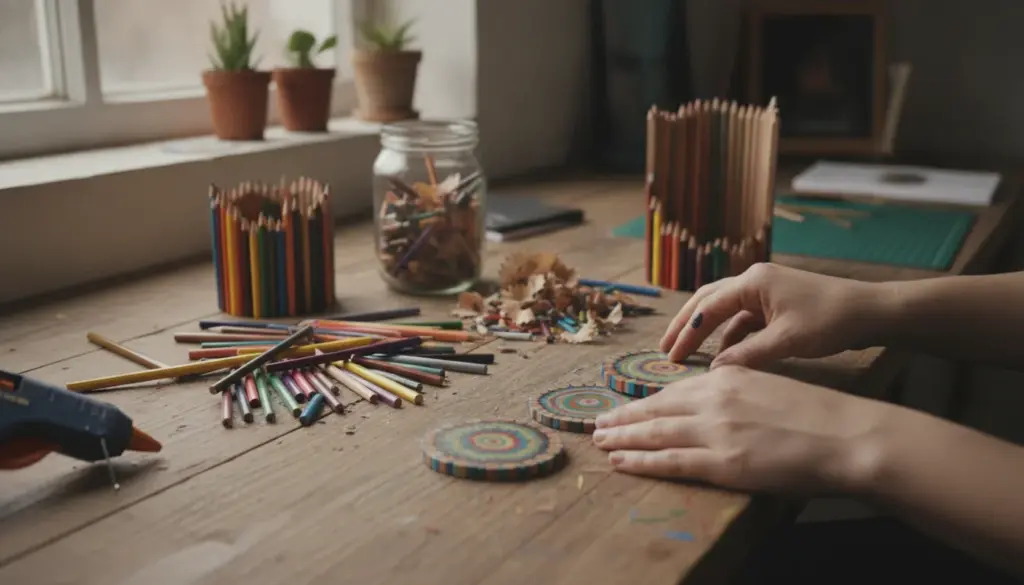
Start by meticulously wiping down your pencils to remove any lingering graphite dust or wood shavings. If certain pieces extend too far past your borders, carefully trim them down to match the frame’s width. Next, apply your adhesive directly onto the frame’s edge. Firmly press each colored stick into the glue, holding it securely for a brief moment to ensure a tight bond.
You have full creative freedom here—line them up perfectly flush for a sleek, modern vibe, or stagger the heights for a delightfully chaotic, playful texture. Once fully cured, your standard snapshot display will evolve into a miniature masterpiece guaranteed to capture your guests’ attention.
Expert-tip: Prior to attaching anything, try organizing your materials by shade to construct a vibrant rainbow gradient. Alternatively, sharpen them to varying, distinct heights. This simple prep step gives the final decoration a highly professional, tactile 3D finish.
Transforming an Old Lamp with Upcycled Pencils
Picture a unique lighting fixture casting a cozy, kaleidoscopic glow across your living room walls. You can easily build this yourself by utilizing discarded drawing tools as an external shade structure. It is a phenomenal method for breathing fresh life into a tired bedside lamp.
Required Supplies
- A collection of leftover colored pencils.
- An outdated lampshade or bare lamp base.
- Industrial-strength glue or a hot melt gun.
- Decorative twine (optional).
- A foundational frame (constructed from thin wood or sturdy cardboard).
Assembly Guide
Clear off a flat workspace and position your lighting base securely. Before applying any sticky substances, dry-fit the pencils around the shade to map out your final design. You can pack them tightly together to form a solid, opaque cylinder, or intentionally leave slender gaps to allow slivers of illumination to peek through.
Once you are happy with the layout, anchor each pencil with a generous drop of glue, checking that every piece sits firmly in place. After the adhesive sets completely, twist in your bulb to reveal the stunning results. The moment you flip the switch, the vibrant hues will cast a magical, artistic ambiance perfect for inspiring creativity or unwinding after a long day.
Crucially, because a standard modern LED bulb generates very little heat, it will not negatively impact the wooden casing, making the entire structure completely fire-safe.
Those stubby art supplies certainly do not belong at the bottom of a rubbish bin. By experimenting with these two approachable upcycling concepts, you will experience the distinct joy of DIY craftsmanship while infusing your living space with vibrant, positive energy. Be sure to save this tutorial for your next crafting session!