Turn Household Waste into Garden Gold
Skip the expensive, store-bought irrigation kits if you want to maintain a thriving crop. Items destined for the recycling bin can actually go a long way. Many seasoned garden enthusiasts are re-evaluating their household waste, realizing that beverage caps and wine corks prove remarkably effective at hydrating thirsty roots and blocking hungry pests.
With a few simple modifications, basic kitchen discards become an efficient hydration network and a protective barrier for your greens.
The Hidden Value of Caps and Corks
Gardeners everywhere face a familiar struggle: tender seedlings scorch under the midday sun while the water bill climbs from constant hosing. Surface moisture evaporates instantly or runs off, rarely penetrating deeply enough to benefit the root zone. Meanwhile, perfectly good corks and plastic tops are tossed away without a second thought.
When you examine these discards closely, their horticultural potential shines. Plastic screw-tops create a watertight seal, perfect for liquid retention. Cork is wonderfully porous, lightweight, and gives off an aroma that certain bugs detest.
Blending these unique traits allows you to hydrate your soil evenly and deter unwanted insects without spending a dime on commercial gear. By simply piercing a discarded lid, you transform frantic surface splashing into a targeted, slow-release drip right where the plant needs it most.
Crafting Your Homemade Drip Irrigator
The core concept is brilliantly straightforward: converting a standard beverage container into a micro-irrigation reservoir. The plastic vessel holds the liquid, while the pierced top regulates the slow release into the earth.
Materials needed per plant:
- One 1.5-liter plastic bottle for robust crops (zucchini, tomatoes, eggplants)
- One 0.5-liter bottle for delicate seedlings and herbs
- The original matching screw-top lid
- A thin nail or sewing needle
- A lighter to briefly warm the metal tip
- A sharp utility knife
Step-by-Step Construction Guide
First, warm the tip of your nail or needle using the lighter, then carefully puncture a single hole directly in the center of the lid. Heating the metal creates a much cleaner, tighter puncture, ensuring the flow remains steady rather than rushing out uncontrollably.
Next, fill your container, screw on the modified top, and invert it over a sink to test the flow rate. The sweet spot is one drop every two to three seconds. If the stream is too fast, you will need to try again with a new lid; if nothing comes out, gently widen the hole.
Finally, slice the flat bottom off the bottle completely. This creates a wide, accessible funnel, meaning you will never have to dig the reservoir up to refill it during the growing season.
Positioning Your Reservoir for Maximum Impact
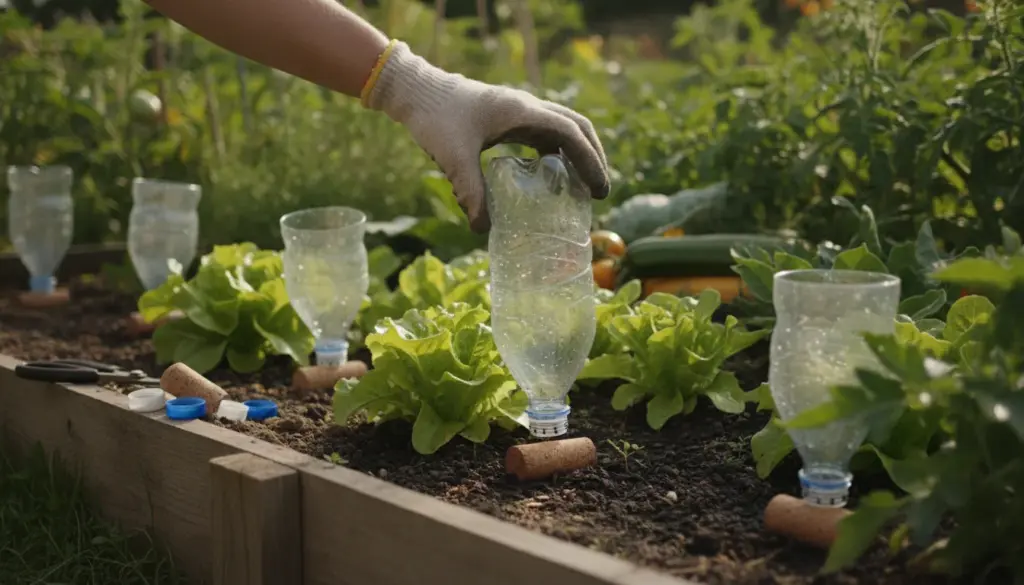
Whether planting a fresh seedling or retrofitting a mature stalk, dig a small cavity roughly four to six inches (10 to 15 cm) away from the main stem. Insert your contraption cap-side down, burying the neck about two to four inches (5 to 10 cm) deep.
Pack the surrounding dirt tightly so the moisture is forced downward into the root system rather than seeping up the sides. During the cooler spring months, topping up the reservoir once a week is usually sufficient. When the intense summer heat arrives, you will want to replenish the water every two or three days.
This exact technique scales down perfectly for raised beds or planters—just use smaller containers with tinier punctures. Because this method delivers hydration deep beneath the surface, the foliage stays completely dry, drastically lowering the risk of fungal infections.
Why Cork and Plastic Complement Your Soil
Standard plastic lids are completely impervious to moisture and sunlight degradation, making them impeccable flow regulators. They ensure liquids trickle gradually rather than flooding the topsoil all at once.
Conversely, natural cork boasts entirely different benefits. Its spongy, cellular structure absorbs excess moisture during heavy downpours and releases it gradually as the surrounding earth dries out. This buffering effect prevents extreme fluctuations between soggy and parched soil, a stability that vegetable roots crave.
Furthermore, cork contains a naturally occurring compound called suberin. While undetectable to us, this scent acts as a mild repellent for pests like ants and aphids, signaling to them that this is not a hospitable environment.
Outsmarting Slugs with Household Scraps
Beyond hydration, battling gastropods is a constant garden chore. A patch of young lettuce or zinnias can be decimated overnight. Thankfully, repurposing your bottle tops and wine stoppers offers excellent defense strategies.
Create Miniature Bait Traps: Flip those small plastic lids upside down and fill them with a splash of beer or sweet syrup. Placed strategically near vulnerable seedlings, these tiny cups draw slugs away from your precious foliage. Their small size limits the mess while keeping the pest control highly localized.
Build a Rough Defensive Ring: Slice your corks into coarse disks or chunky fragments and arrange them in an unbroken circle around the base of your plants. Slugs and snails absolutely despise sliding over sharp, dry, or abrasive textures. While not an impenetrable fortress, a cork barrier creates enough physical discomfort to deter most nocturnal nibblers.
You can also grind up the stoppers to use as a lightweight mulch. This insulates the soil, suppresses weeds, and maintains an unappealing surface for slime-dependent pests.
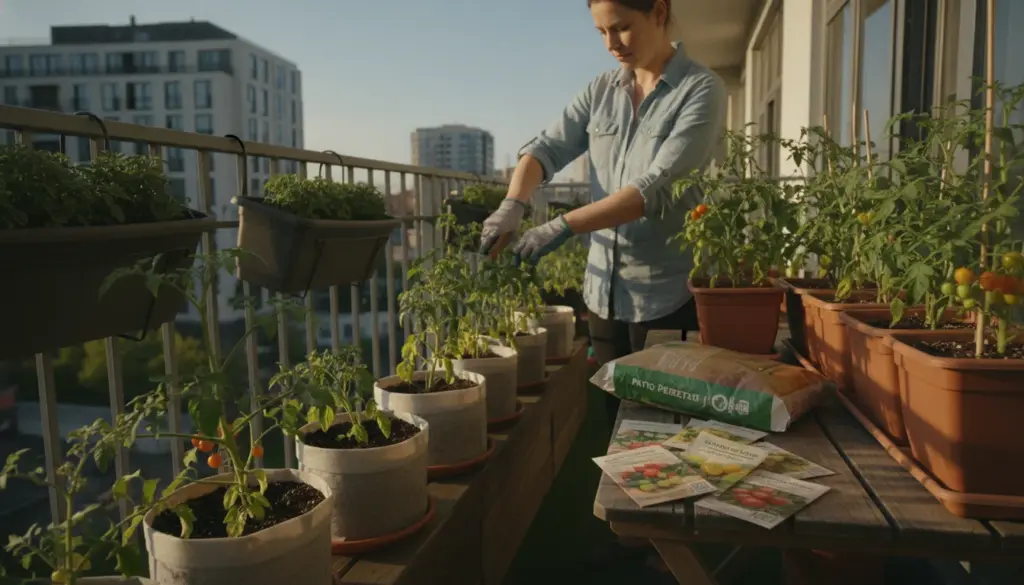
Optimizing Balcony Pots and Planters
Maintaining the perfect moisture balance in containers is notoriously tricky—the top might look bone-dry while the bottom is drowning. Mixing broken cork pieces into your potting medium, or layering them at the base, drastically improves aeration and drainage.
Because this material is incredibly light, your large patio planters remain easy to move around compared to using heavy gravel. The chunks soak up irrigation water and slowly disperse it later. For container-grown herbs and tomatoes, this steady hydration is often the secret to vigorous, sturdy growth.
Expert Tips for Maximizing Your Setup
Once you see the results, tweaking the system becomes second nature. If you are working with highly porous, sandy earth, placing two reservoirs on opposite sides of a thirsty crop works wonders. For heavy clay environments, stick to the absolute smallest puncture possible to prevent waterlogging.
When utilizing corks, keep an eye out for any that turn mushy or grow mold. Simply toss them in the compost and replace them; they naturally decompose over time anyway. Always insist on natural, untreated corks—avoid anything with plastic coatings, glitter, or artificial dyes, as these do not belong in a natural ecosystem.
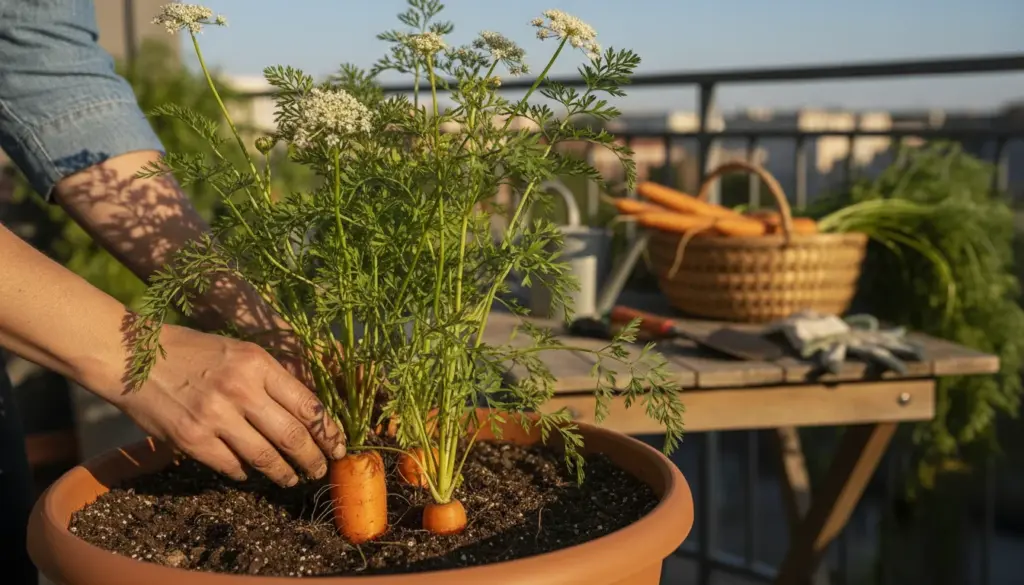
For urban growers managing community plots or sunny balconies, the biggest advantage is consistency. If your schedule prevents daily watering, these recycled reservoirs act as a lifesaver during heatwaves. Your crops avoid the shock of severe drought, and every drop you pour goes straight to the roots instead of spilling over the patio tiles.