The Hidden Danger of Hard Water Stains
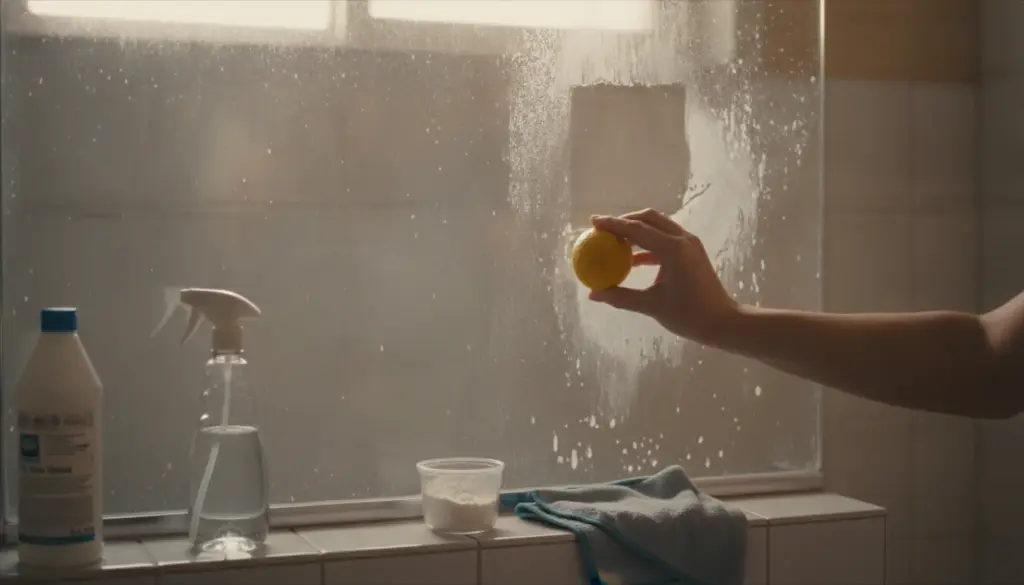
A foggy shower door covered in chalky white spots instantly makes an entire bathroom look neglected, even if every other surface is spotless. Homeowners often resort to pricey commercial descalers or abrasive scrubbing pads, which yield mixed results and can actually damage the surface. Fortunately, there is a much gentler approach relying on just three common pantry staples. This method eliminates stubborn mineral buildup without leaving behind nasty scratches or harsh chemical fumes.
Anyone living in a hard water area knows the struggle: just a few showers leave a hazy, spotted film behind. This happens because tap water contains high levels of calcium and magnesium. When droplets evaporate, these minerals remain stuck to the surface as tiny white specks. Over time, these microscopic dots fuse into a stubborn crust that traps soap scum, making the panels look increasingly dingy.
If ignored for months, this mineral layer can permanently etch the glass, leaving small pits and a yellowish tint. It is a genuine mineral deposit, not just everyday dirt, making it tougher to remove the longer it sits. Frustrated cleaners often grab scouring powders or steel wool to attack the mess. While the surface might look temporarily better, these aggressive methods create invisible micro-scratches. Those tiny grooves actually give future hard water deposits a perfect place to anchor, locking you into a vicious cycle of impossible-to-clean showers.
The Smart Hack: A Sticky DIY Cleaning Gel
The secret to breaking this cycle involves using gentle acids, giving them ample time to break down the minerals, and ensuring the mixture actually clings to the vertical surface instead of running straight down the drain. This concept gave rise to a highly effective, homemade anti-limescale gel. You only need three basic items likely already sitting in your cupboards:
- White vinegar (around 8%): A gentle acid that naturally dissolves stubborn mineral bonds.
- Citric acid: A powerful powder that attacks hard water stains without releasing toxic fumes.
- Cornstarch: The secret thickening agent that transforms the liquid into a sticky, spreadable gel.
The thick consistency is the true game-changer here. Standard liquid descalers slide off upright doors in seconds, giving the active ingredients zero time to penetrate the crust. A thicker paste clings tenaciously, letting the natural acids do all the heavy lifting so you do not have to scrub. Saving both your glass and your aching back.
How to Mix Your Own Anti-Limescale Paste
Whipping up this cleaning hack takes barely ten minutes and provides enough product for multiple deep cleans. The whole batch costs mere pennies to make, yet performs just as well as several bottles of store-bought bathroom cleaner.
Required Ingredients:
- 300 ml cold water
- 1 tablespoon cornstarch
- 1 tablespoon citric acid powder
- 100 ml white vinegar (8%)
Step-by-Step Application for Scratch-Free Results
The technique you use to apply this mixture is just as crucial as the recipe itself. Following the right steps maximizes the cleaning power while minimizing any risk of surface damage.
1. Prep the Enclosure
Briefly rinse the doors with warm water to wash away loose dust and surface soap scum. Leave the panels slightly damp, as moisture helps spread the paste evenly. Always wear protective rubber gloves to shield your skin from the acidic pH.
2. Apply and Wait
Spread a consistent, even layer over all the cloudy, spotted areas using a soft microfiber cloth or a non-abrasive sponge. Do not scrub—your only goal right now is full coverage. Allow the mixture to rest for at least 15 minutes. For heavily neglected bathrooms, extend this dwell time to 30 or even 60 minutes. The paste might dry out slightly, but never let it harden completely. If your bathroom is particularly warm, you may need to dab on a little extra moisture to keep the acids active.
3. Safe Finishing
Never, under any circumstances, take the rough green side of a kitchen sponge to your shower enclosure. You won’t notice the micro-abrasions immediately, but after a few months, the panels will become permanently dull.
Crucial Warnings for Specialty Materials
Not every bathroom fixture can handle the same treatment. The underlying material dictates how potent your cleaner should be and how much pressure you can safely apply.
Coated Glass: Many modern enclosures feature a factory-applied protective film designed to repel water and prevent buildup. These high-tech coatings can degrade when exposed to acids. Always perform a patch test in an inconspicuous corner first. If the manufacturer advises against acidic cleaners, dilute your homemade paste with extra water, shorten the sitting time, and use ultra-soft cloths.
Acrylic and Plastic: Plastic surfaces are notoriously softer and much more prone to scratching than tempered glass. If you have plastic walls, use a heavily diluted version of the recipe and completely avoid rubbing. Stick to a gentle wiping or patting motion instead of polishing.
Natural Stone Hazards: Acidic solutions will severely etch and ruin natural stone like marble or granite. Even if your bathroom only features stone thresholds or decorative borders, you must protect them. Tape off these sensitive edges or work very carefully around them. Never let this mixture touch marble, and immediately flood any accidental spills with copious amounts of fresh water. When in doubt about your bathroom’s materials, consult the manufacturer’s care guide.
A Routine That Actually Keeps Hard Water Away
A massive deep clean feels great, but hard water will just start leaving fresh spots the very next day. Adopting a smarter daily habit prevents the need for intense scrubbing sessions down the road.
- Grab a small squeegee after every single shower to pull standing water off the doors.
- Quickly wipe away any remaining stray droplets with a dedicated old towel.
- Schedule a thorough gel treatment once a month, or slightly more frequently if your local water is exceptionally hard.
- Keep a close eye on the silicone seals and metal tracks, as buildup loves to hide there.
Tying this routine to a specific calendar day—like the first Saturday of the month—ensures the enclosure stays pristine. Frequent maintenance means the acids need less time to work, saving you serious elbow grease.
Why Mild Acids Outperform Aggressive Chemicals
While commercial sprays also utilize acids, they usually contain aggressive concentrations mixed with overpowering synthetic fragrances and solvents. These harsh chemicals can quickly overwhelm a poorly ventilated bathroom and irritate sensitive lungs. Mild alternatives like acetic acid and citric acid melt away calcium just as effectively, provided you give them sufficient time to work.
By turning them into a thick gel, you replicate the power of heavy-duty industrial cleaners but gain much better control and safety. Plus, the opaque paste shows you exactly where you have wiped, ensuring you never miss a spot or waste time treating the same patch twice.
Pro Tips for Long-Lasting Clarity
If you want to take your bathroom detailing to the next level, consider applying a specialized water-repellent treatment after cleaning, similar to the rain-repellent sprays used on car windshields. This forces water to bead up and roll away, significantly slowing down new mineral deposits. However, verify that aftermarket treatments won’t react badly with existing factory coatings. Renters should also double-check with their landlords before applying permanent sealants.
Ultimately, every home deals with different tap water chemistry, varied usage habits, and unique fixtures. Consider this sticky anti-calc recipe a foundational baseline. Tweaking the water ratio, adjusting the dwell time, or refining your application technique can easily bridge the gap between perfectly fine and sparkling like brand new glass.