Why Tossing Unprotected Bread in the Freezer is a Bad Idea
Tossing leftover baked goods into the freezer seems like a practical way to prevent food waste after a busy week or a big dinner. However, one simple oversight can easily transform a delicious baguette into a flavorless sponge. Many of us casually chuck loaves into the icebox, only to be disappointed later by tough, dry, or oddly tasting slices.
When bread enters the freezer without proper protection, it faces three major threats:
- Odor absorption: Dough acts exactly like a culinary sponge. It readily soaks up the lingering smells of frozen fish, garlic butter, or leftover meats.
- Freezer burn: Direct exposure to frigid, dry air rapidly dehydrates the surface. This leaves you with a rock-hard crust and a strangely crumbly interior.
- Hygiene concerns: Sub-zero temperatures merely pause bacterial growth; they do not kill microbes. Leaving food exposed means it shares the exact same environment as everything else lurking in your freezer drawers.
What seems like a quick storage hack usually results in a piece of toast that smells strongly of frozen lasagna. Consequently, people end up throwing the ruined food away anyway, completely defeating the purpose of saving it.
The Proper Way to Freeze Baked Goods
If you want to preserve the original texture and flavor of your loaf, there is one golden rule: shield it effectively from air and ambient odors. Achieving this requires the right materials and just a tiny bit of prep work.
Step 1: Always Portion First
Before wrapping anything, cut your baked goods into practical, usable portions:
- Slice whole loaves so you can grab exactly what you need for a single lunch or breakfast.
- Cut baguettes in half, making them the perfect size to pop into the oven later.
- Separate individual rolls, packing them singly or in pairs.
This strategy means you never have to thaw an entire loaf just to get a couple of slices. Limiting temperature fluctuations and preventing the dreaded thaw-and-refreeze cycle is crucial for maintaining quality.
Step 2: Create an Airtight Seal
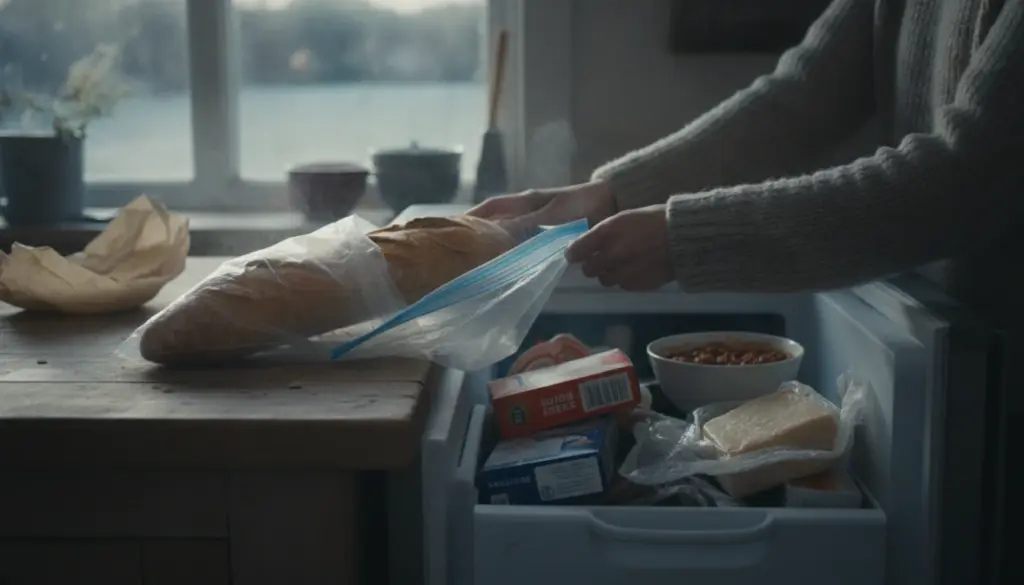
Always opt for a heavy-duty freezer bag or a thick, reusable silicone pouch. The trick is to squeeze out as much excess air as possible before sealing it shut. Vacuum sealers work wonderfully for this, though they certainly aren’t mandatory.
Minimizing the air surrounding your slices drastically reduces the chances of freezer burn and flavor contamination. For an extra layer of defense, you can wrap the pieces in parchment paper before sliding them into the plastic. This protects the crust and makes it easier to reuse the outer bag later.
Step 3: Labeling and Storage Limits
Don’t forget to write the current date on your packaging. This simple habit stops that stray half-loaf from languishing in the back corners for months on end.
While bread technically remains safe frozen for about six months, its structure and taste degrade as time passes. A smart approach is to practice a “first in, first out” system, always placing the newest groceries at the bottom or back of the drawer.
How to Thaw Bread Without Making it Chewy
The method you use to bring your loaf back to room temperature is just as vital as how you froze it. Skipping steps here is where things frequently go wrong. Microwaving frozen slices, for instance, is a guaranteed recipe for rubbery, unchewable toast.
- On the counter: Let the slices naturally reach room temperature while still inside their sealed packaging. This forces the evaporating moisture right back into the crumb.
- In the oven: For whole rolls or baguettes, bake them in a preheated oven at 160 to 180 degrees for 10 to 15 minutes. This beautifully revives that satisfyingly crispy crust.
- In the toaster: Individual slices can be popped directly from the icebox into the toaster. This is incredibly convenient for a quick morning meal or a grilled cheese sandwich.
Allow the dough to gently thaw in its wrapper, then apply brief, intense heat to wake up the crust. Whatever you do, never let bread sit half-thawed only to freeze it again, as every cycle strips away moisture and taste.
Keeping Loaves Fresh Without Freezing
If freezer space is tight, or you plan to eat everything within a few days, you can still maximize freshness at room temperature. The container and location you choose make a world of difference.
The Refrigerator Exception
Storing baked goods in the fridge is widely considered a culinary sin because it accelerates staling. However, it can actually work if executed precisely. The secret lies in using a robust, airtight seal and picking the correct shelf.
Place your bread in a heavy freezer bag, remove the air, and set it on the highest shelf in your fridge. Temperatures up there are typically more stable and slightly warmer than at the bottom. This specific setup keeps the crumb softer than if it were left vulnerable in a loose bag on the kitchen counter.
Breadboxes and Natural Linens
For a more traditional approach, house your loaves in a breathable cotton or linen sack. Classic wooden or metal breadboxes are also excellent choices. These materials allow just enough airflow to stall mold growth while preventing the dough from drying out instantly.
Conversely, leaving a flimsy, loosely tied grocery bag on the counter is a terrible idea. This creates a humid microclimate where the crust turns soggy, the interior stales quickly, and the risk of mold skyrockets in a warm kitchen.
Creative Solutions for Stale Slices
Even with impeccable storage habits, you might occasionally end up with a slightly hardened loaf. Don’t toss it in the trash just yet. Dry bread is actually the foundational ingredient for several incredible dishes.
- Blitz the hardened pieces in a food processor to create homemade breadcrumbs for casseroles or meatballs.
- Cube the leftovers, toss them with oil and herbs, and bake them into crunchy croutons for your soups and salads.
- Soak thick slices in egg mixtures to make indulgent French toast or savory bread puddings packed with cheese and veggies.
- Bake sturdy pieces until crisp to serve as a rustic base for tomato bruschetta or creamy spreads.
Having a few of these culinary tricks up your sleeve completely changes how you view an aging baguette. It significantly lowers the hurdle of rescuing food rather than discarding it.
Why Freezer Hygiene Actually Matters
Most of us don’t associate sub-zero storage with bacterial issues, but cleanliness plays a huge role in food preservation. While freezing halts microbial growth, any bacteria introduced to the environment simply lie dormant.
A chaotic freezer packed with torn bags, unsealed containers, and thick layers of frost invites cross-contamination and nasty flavor transfers. Taking the time to periodically defrost the unit, wipe it down with warm water and a splash of cleaning vinegar, and toss out unidentifiable mystery items pays off immensely.
Maintaining a tidy icebox and consistently wrapping items well drastically reduces the chances of ruining your food, giving you peace of mind when saving leftovers.
Mastering Portions and Planning
Ultimately, a little foresight prevents the tedious cycle of moving whole loaves in and out of cold storage. Thinking about your actual consumption habits is a game-changer.
Consider buying two smaller loaves instead of one massive one. You can immediately preserve half and keep the rest in your breadbox. Alternatively, slice up your fresh purchase right away, separating it into specific piles for morning toast and afternoon sandwiches. Matching your grocery habits to your household’s daily rhythm ensures less food ends up in the bin.
By adopting a few of these mindful routines, freezing stops feeling like a desperate rescue mission. Instead, it becomes a strategic way to stretch your grocery budget, reduce household waste, and ensure you always have bakery-quality slices ready to enjoy.