Battling stubborn soap scum and cloudy glass doors often feels like a never-ending chore without the right approach. Picture being able to wipe away those frustrating white stains and block mold growth without relying on pricey, harsh chemical cleaners. The truth is, the most effective secret to a sparkling bathroom is incredibly simple, and it is likely sitting right inside your kitchen pantry.
Keeping your shower enclosure looking pristine can be quite the daily struggle. The constant combination of lingering steam and hard water quickly robs glass surfaces of their natural shine. Because of this, a growing number of homeowners are trading heavy-duty commercial cleaners for plain white vinegar. Because it is naturally rich in acetic acid, this common liquid acts as an incredible mineral deposit dissolver.
In homes dealing with high calcium and magnesium levels, the acidity essentially shatters the molecular structure of limescale. This chemical reaction allows you to easily wipe away the grime without any exhausting scrubbing.
It is also worth noting that this natural approach has real science backing it up. While it shouldn’t replace hospital-grade disinfectants during severe contamination events, agencies like the EPA acknowledge that acidic solutions can drastically lower the count of microscopic organisms on household surfaces. Since damp bathrooms act as absolute havens for thriving bacteria and fungi, making this acidic spray a regular part of your routine can completely transform your cleaning results.
How to Make and Use Your DIY Cleaning Spray
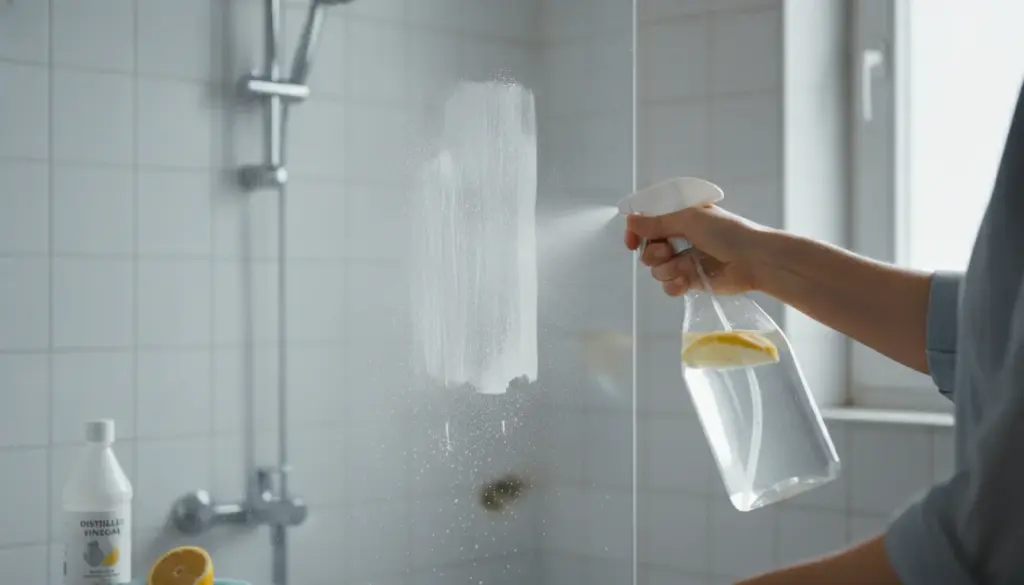
The real secret lies in getting the dilution ratio just right, ensuring it remains highly effective while staying perfectly safe for your rubber seals. Your best bet is to combine equal parts of white vinegar and warm water, pouring the mixture directly into a standard spray bottle.
Here is the foolproof step-by-step method:
- Give the bottle a vigorous shake before you begin spraying.
- Liberally coat the glass panels, door tracks, and any spot showing mineral buildup.
- Let the liquid sit undisturbed for 10 to 15 minutes so the acidity can properly eat through the grime.
- Gently massage the treated areas with a soft sponge (avoid abrasive scrubbers!) using circular motions.
- Rinse everything down thoroughly with fresh water, and make sure to dry it completely using a microfiber cloth or a squeegee.
Pro tip: If you are battling a heavily calcified showerhead, simply submerge it inside a plastic bag filled with your acidic mixture overnight. By morning, the crusty buildup will effortlessly fall away as soon as you turn the water on.
Which Surfaces Should Never Be Treated?
Even though this pantry staple is incredibly versatile, certain materials simply cannot handle the high acidity. Prolonged exposure to specific metals—including iron, copper, and aluminum—can actually accelerate oxidation and rust. To play it safe, try to focus your spray exclusively on the glass, making sure to instantly buff dry any metal fixtures that accidentally get wet.
You must also exercise extreme caution if your bathroom features natural stone materials like granite or marble. Acidic cleaners can permanently etch their delicate surface structure, resulting in dull patches and ugly discoloration. Furthermore, light-colored grout lines might slowly alter their shade if subjected to frequent acid baths. Because of these risks, it is highly recommended to do a quick patch test on a hidden spot before tackling the entire enclosure.
When and How Often Should You Use This Routine?
Your cleaning schedule will largely depend on the specific hardness of your local tap water. If you notice chalky residue forming immediately after showering, aim to apply this treatment once a week. For households blessed with softer water, a bi-weekly application is usually more than enough to maintain a brilliant shine.
Keep a close eye out for obvious warning signs: stubborn chalky smears on your doors, tiny dark specks hiding in corners (which often signal early mold), and any lingering musty odors. However, keep in mind that a DIY spray cannot do all the heavy lifting on its own, as proper ventilation remains absolutely crucial. Simply cracking a window or running your exhaust fan post-shower will drastically cut down on fungal growth.
Relying on this household staple provides a budget-friendly, environmentally conscious, and remarkably powerful way to maintain crystal-clear, streak-free shower doors. Just follow the necessary precautions, and keep this helpful guide handy for your next deep-clean!