You are just about to head out the door, only to realize your brand-new trousers are dragging on the floor. Without a sewing machine or an iron on hand, panic usually sets in. Fortunately, dealing with oversized pants does not have to turn into a wardrobe crisis. By relying on a straightforward, vintage sewing method, you can craft a crisp, nearly undetectable hem in mere minutes. All it takes is a standard needle, some thread, a few pins, and a sliver of dry soap. This time-tested fix actually holds up incredibly well and will easily rescue your outfit at the eleventh hour.
Why This Vintage Hemming Hack Endures
Long before iron-on hemming web or quick online tutorials existed, home sewists relied on entirely manual techniques to shorten trousers beautifully. This classic approach creates a durable, hidden hemline without requiring expensive gadgets or specialized tools. The concept is wonderfully basic: you crease the fold using just your fingers, secure the fabric with pins, and finish everything off with a virtually invisible stitch.
When executed properly, a hand-stitched hem looks as though it was done by a professional tailor, even if you are just altering your clothes in a cramped hotel room. This old-school process offers several fantastic benefits:
- No heavy equipment required: You completely skip the sewing machine and iron.
- Natural movement: The altered hem stays perfectly fluid and drapes elegantly.
- Seamless appearance: The outer stitching remains virtually impossible to spot.
- Ultimate portability: You can perform this quick fix anywhere, from a dorm room to a backstage dressing area.
This approach works exceptionally well on dress pants, tailored trousers, and fabrics that require a graceful drape. For novice sewists, mastering this fundamental skill means you can confidently salvage almost any pair of excessively long trousers.
Step 1: Finding and Prepping the Perfect Length
Always start by trying on the trousers along with the specific footwear you plan to pair them with. Whether you are wearing heels, chunky sneakers, or flat loafers, your shoe choice heavily dictates how much fabric you actually need to remove. Stand up completely straight and either enlist a friend for assistance or work meticulously in front of a full-length mirror.
Achieving a Tailored Look
For standard dress pants, a hem width of roughly 3 centimeters provides the ideal weight for a smooth, undisturbed drape. Make sure to tackle each pant leg individually, as minor variations in leg length become blatantly obvious if ignored. Fold your excess fabric inward to the desired height, then place a tiny mark on the inner bottom edge using tailor’s chalk, a disappearing ink pen, or a simple sewing pin.
Step 2: Creating a Sharp Crease Without Heat
Typically, a hot iron is required to press a sharp, crisp edge into a new hem. However, this brilliant trick replaces that bulky appliance with a technique known as “finger pressing.” While it sounds overly simplistic, this method is surprisingly effective, particularly when working with natural fibers like cotton, linen, and wool.
How to Finger Press Like a Pro
Turn your hem inward to its final resting position and firmly pinch the doubled-over fabric between your thumb and index finger. Squeeze the material tightly as you slowly slide your fingers along the entire circumference of the pant leg. Spend about thirty seconds repeating this motion on each side.
Thanks to the friction and pressure from your fingertips, the fabric fibers develop a temporary memory. The fold will actually stay sharply in place without a single drop of heat.
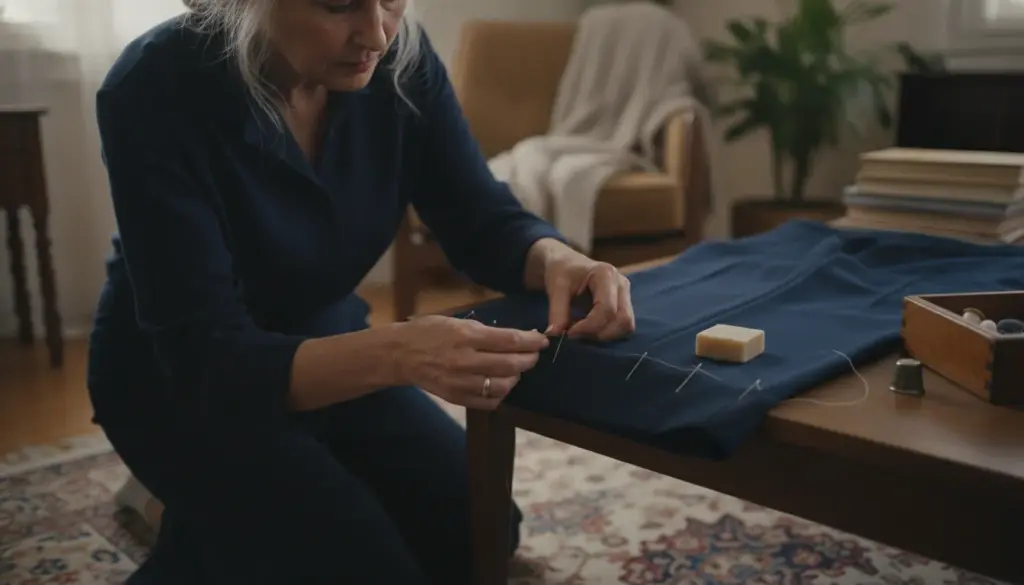
Once your crease feels prominent and secure, lock the hem in position using standard sewing pins. Insert roughly five pins vertically around each leg, spacing them out evenly. This guarantees your fabric will not shift while you stitch.
Step 3: The Magic of the Invisible Stitch
Now comes the true craftsmanship: sewing the manual slip stitch. In traditional dressmaking, this was often called the “blind stitch” because the ultimate goal is to leave no visible trace on the outside of the garment.
Mastering the Blind Hem
Select a fine needle and choose a thread color that closely matches your trousers. Cut a strand roughly the length of your arm and tie a small knot at one end.
- Hide the knot: Start from the inside of the folded hem so the knotted end remains concealed.
- Thread the edge: Push your needle up through the folded rim of the fabric.
- Catch a single fiber: Gently pick up just one microscopic thread from the main outer fabric, sitting right above your fold.
- Return to the fold: Slide the needle immediately back down into the inner hem edge.
- Space it out: Leave roughly one centimeter of breathing room between each completed stitch.
The real secret here is managing your tension. If you yank the thread forcefully, the outer fabric will inevitably pucker and warp. Your finished hem should fall smoothly, entirely free from pulling lines or strange wrinkles.
When done neatly, the exterior will only reveal a series of microscopic dots up close, which completely vanish from a normal viewing distance. Because the tension is distributed across dozens of tiny stitches, this delicate-looking seam is remarkably strong.
A Vintage Secret Weapon: Dry Soap
An incredibly clever, old-world addition to this process involves a standard bar of dry soap. Before you begin your finger-pressing routine, simply rub the dry soap directly along the inside of the fabric fold. This creates a mild, natural stiffening effect that holds your crease firmly in place.
During the garment’s first trip through the laundry, this soapy residue washes away effortlessly. You are left with a pristine, sharp crease that contains no stains or rigidly glued edges. This specific tactic is an absolute lifesaver when you are traveling and need to alter clothes in a hotel room lacking laundry services.
Which Fabrics Work Best?
This subtle hemming technique is flawlessly suited for polished garments, including wool blends, suit trousers, crisp linens, and smooth cottons. Whenever a garment demands an undetectable finish, this blind stitch is your best option.
You can certainly attempt this on jeans, though denim traditionally features a highly visible, contrasting stitch line as part of its aesthetic charm. If you do want a hidden hem on your favorite jeans, be prepared for a bit of a workout. Thick denim requires extra effort to pierce by hand, making a very sharp needle and a sturdy thimble essential for the job.
Avoiding Common Alteration Mistakes
- Folding excessively: Stick to the recommended 3-centimeter allowance to maintain an elegant drape.
- Uneven leg lengths: Always verify your measurements while standing up straight in front of a mirror with your shoes on.
- Grabbing too much outer fabric: Ensure you are only snagging a microscopic, single thread on the garment’s visible side.
- Pulling the thread taut: Keep your stitching tension relaxed to prevent unsightly puckering and fabric distortion.
Why This Skill Will Save Your Wardrobe
This manual stitching trick goes far beyond fixing brand-new trousers. Think about a child who suddenly hits a growth spurt right before a special event, leaving their formal wear looking awkwardly short, or an impromptu vacation where you need to quickly shorten a flowing maxi dress for a walk along the beach. As long as the material is not excessively chunky or highly elastic, this method applies to almost any straight edge.
For avid thrift shoppers, mastering this technique is practically mandatory. Finding the perfect pair of vintage trousers at a secondhand shop no longer requires them to be your exact length. You can customize the fit yourself without paying a premium at the local tailor. With a bit of practice, altering a single pant leg will take just a few minutes.
Once you develop a rhythm for this process, a whole world of DIY alterations opens up. From shortening overly long sleeves to adjusting bulky linings, the foundational rules never change. Just measure carefully, press your folds firmly with your fingers, and stitch patiently with tiny, relaxed loops.