
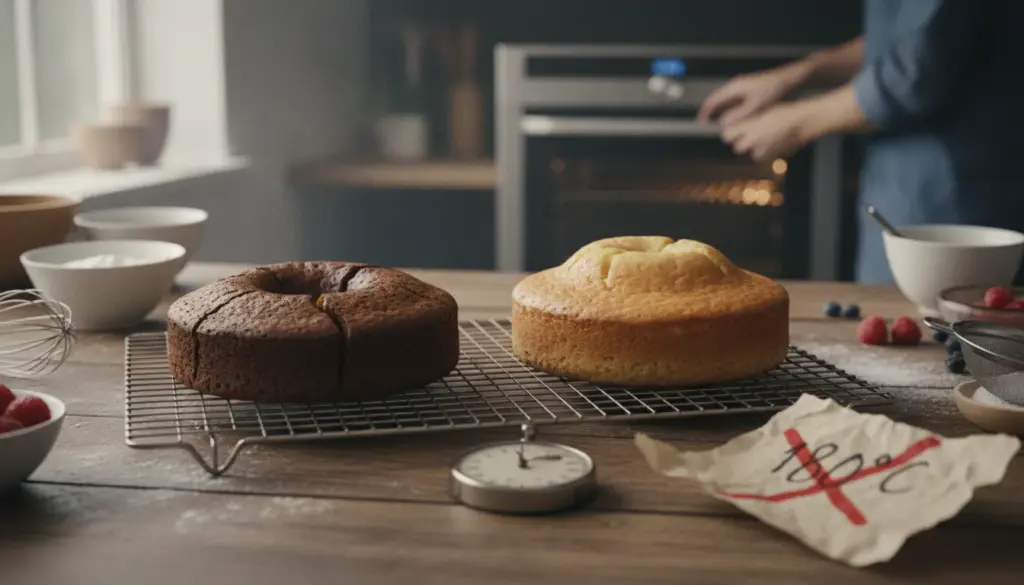
Why 180 degrees ruins your yogurt cake
Many home bakers instinctively preheat their oven to 180 degrees Celsius for yogurt cake, only to end up with a cracked, sunken, or gummy mess. While countless recipe books recommend this standard temperature, it actually performs incredibly poorly for such a dense batter. The exterior tends to scorch quickly, leaving the interior struggling to rise and bake through properly. Simply adjusting your oven dial often makes the difference between a ruined, sticky slab and a wonderfully fluffy bake.
If you bake regularly, you probably recognize the dreaded volcano effect. Your cake emerges from the oven with a massive peak, deep fissures, and a completely raw center when sliced. Meanwhile, the outer edges are overly dark or even rock-hard.
This frustrating outcome comes down to the batter’s specific composition. A classic yogurt cake contains significant moisture from the eggs, yogurt, and typically a generous splash of oil. Because the rise depends entirely on baking powder, this wet mixture requires patience and gentle, consistent heat.
- Intense heat causes the batter to shoot upward far too rapidly.
- The top surface sets prematurely, creating a stubborn crust.
- Warmth fails to penetrate deeply into the center of the tin.
- The core lags behind, resulting in a dense or underbaked middle.
In an excessively hot environment, the baking powder’s gas bubbles expand at lightning speed. The cake balloons upward without building a sturdy framework, meaning it will easily collapse once it cools. This explains those sad, deflated slices or the gummy, wet clump in the center.
The science behind baking at 180 degrees
When subjected to 180 degrees, the surface of your batter transforms rapidly. Proteins and sugars react to the intense heat and turn brown, a process known as the Maillard reaction. While this creates a lovely flavor and golden color, this browning happens much faster than the actual baking of the core.
The upper layer quickly becomes rigid and seals the cake. Simultaneously, the high moisture content generates a massive amount of internal steam. This trapped steam desperately seeks an exit, forcefully pushing against the prematurely formed crust to create cracks, splits, and sometimes a massive crater on top.
Beneath the surface, the crumb structure simply has not had enough time to develop steadily. The internal air pockets grow too large, leaving their supporting walls far too fragile. As soon as you remove the tin from the heat, these weak structures collapse, leaving you with a heavy, dense bite.
The ideal oven temperature for yogurt cake
If your goal is a tender crumb with a perfectly baked center, you should aim a bit lower. Setting your convection oven to 160 degrees Celsius is the absolute sweet spot. Giving the batter an extra 10 to 15 minutes at this milder heat rewards you with a beautifully even result.
What happens at 160 degrees:
- The rising process is gradual, creating a much more stable internal structure.
- The top crust forms much later, allowing heat to gently reach the core.
- The entire cake achieves a highly uniform bake from edge to center.
- The exterior develops a lovely golden hue rather than a dark brown shell.
If you prefer using a conventional oven with upper and lower heating elements, you can nudge the dial slightly higher to 170 degrees. The core principle remains identical: you want moderate, sustained warmth rather than an aggressively hot, scorching climate.
Step-by-step guide to baking at 160 degrees
Prepping your equipment
Always preheat your oven for at least fifteen minutes to establish a rock-solid baseline temperature. This prevents drastic heat fluctuations the moment you slide your tin inside. Thoroughly grease your baking tin and dust it lightly with flour, or line it with parchment paper, allowing the batter to glide upward without sticking.
Position your oven rack in the lower third of the oven. Placing your tin too close to the upper heating element will dry out the top incredibly fast, causing it to darken before the rest is fully cooked.
Patience during the bake
Once you place the tin in the preheated oven, keep the door firmly shut for at least 35 minutes. Every quick peek lets precious heat escape, which can cause your bake to sink or rise lopsidedly. Depending on your specific appliance and tin size, expect a total baking time of 45 to 50 minutes.
The most reliable way to check for doneness is still the classic skewer test. Insert a thin knife or wooden skewer right into the very center; it should come out completely clean without any wet batter clinging to it.
The secret to proper cooling
Never shock your freshly baked cake by pulling it straight onto a cold kitchen counter. Instead, switch off the heat and leave the door slightly ajar for about ten minutes. This gentle temperature drop allows the delicate crumb to set properly without caving in.
Afterward, carefully remove it from the oven, let it rest briefly in the tin, and turn it out onto a wire rack. This essential step allows excess steam to escape, preventing a soggy bottom and ensuring a delightfully springy texture.
Adapting to your specific appliance
Not a single oven behaves exactly as its digital display or dial suggests. Some blast significantly more heat than promised, while others run remarkably cool. Taking a few notes during your baking sessions will save you endless frustration.
- If the crust darkens rapidly while the center stays wet, drop the temperature by 10 degrees or move the rack down.
- If the batter barely rises and remains hopelessly pale, extend the baking time or increase the heat by 5 to 10 degrees.
- If utilizing only top and bottom heat, simply extend the overall duration and avoid placing the tin too high.
Investing in a basic oven thermometer is highly recommended to discover your appliance’s true climate. Many household ovens easily deviate by 10 to 20 degrees from their set temperature.
Pro tips for an incredibly fluffy texture
While dialing in the correct warmth is half the battle, a few smart habits will elevate your final product even further. Always use room-temperature ingredients, meaning you should pull your eggs and yogurt from the fridge well in advance to ensure a smooth batter.
Mix your ingredients briefly but thoroughly, avoiding the temptation to beat the mixture endlessly. Whipping too much air into the batter simply creates fragile bubbles that will easily pop and collapse later. Additionally, only fill your tin up to two-thirds of its capacity, granting the cake ample room to expand without spilling over.
Once you understand this gentle baking principle, you can easily apply it to other moisture-rich treats like banana bread or dense fruit loaves. The golden rule always remains: lower heat for a longer stretch beats a hot, rushed bake. You will be rewarded with a noticeably lighter crumb, beautifully developed flavors, and a perfectly even slice every single time.